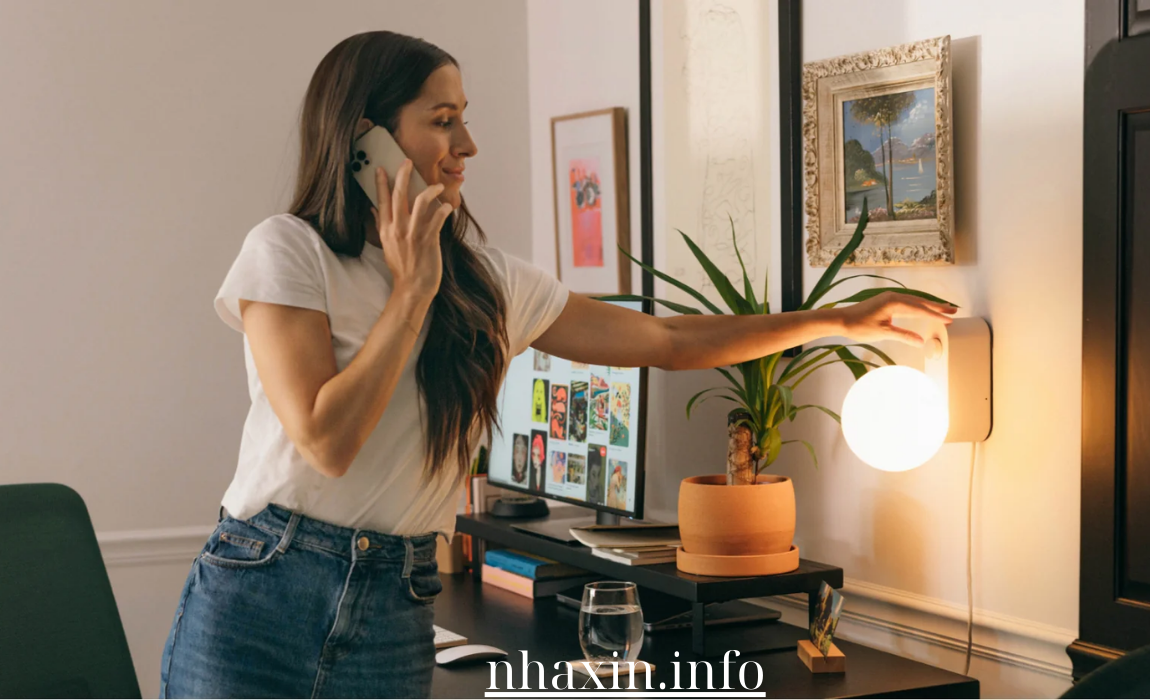
Proper lighting is essential for creating functional and comfortable spaces, especially when it comes to task lighting. Task lighting refers to fixtures that illuminate specific areas where activities such as reading, cooking, working, or applying makeup take place. Optimal placement of task lights enhances visibility, reduces eye strain, and improves productivity. Here are some tips to help you achieve the best illumination through effective task light placement.
1. Identify the Purpose of the Task Lighting
Before installing any lighting, determine the specific tasks that will be performed in the space. Different activities require varying levels of brightness and types of light. For example:
- Reading or Writing: Requires focused, bright light to prevent eye strain.
- Computer Work: Benefits from diffused lighting to reduce glare on screens.
- Cooking: Needs ample light to safely prepare food and read recipes.
- Crafting or Detailed Work: Demands high-intensity light to see fine details clearly.
Understanding the purpose will guide you in selecting the appropriate fixtures and placement.
2. Position Lights to Minimize Shadows and Glare
- Avoid Casting Shadows: Place the light source opposite your dominant hand to prevent casting shadows over your work area. For right-handed individuals, the light should come from the left, and vice versa.
- Reduce Glare: Position lights so that they do not reflect directly into your eyes or off reflective surfaces like computer screens or glossy countertops.
3. Adjust the Height Appropriately
- Desk Lamps: The bottom of the lampshade should be at eye level when seated to provide adequate light without glare.
- Floor Lamps: Should be tall enough to cast light over your shoulder when reading or working.
- Under-Cabinet Lights: Install towards the front edge of cabinets to illuminate the countertop evenly.
4. Utilize Adjustable Fixtures
- Swing Arms and Goosenecks: Allow you to direct light precisely where it’s needed.
- Dimmable Options: Provide control over light intensity for different tasks and times of day.
- Articulated Arms: Offer flexibility in positioning, which is ideal for workstations or crafting areas.
5. Consider the Light Source and Bulb Type
- LED Bulbs: Energy-efficient with a long lifespan; available in various color temperatures.
- Color Temperature: Measured in Kelvin (K), with lower numbers being warmer (yellow light) and higher numbers being cooler (blue light). Choose:
- Warm Light (2700K-3000K): For relaxing environments like bedrooms.
- Neutral Light (3500K-4100K): Suitable for kitchens and bathrooms.
- Cool Light (5000K-6500K): Ideal for detail-oriented tasks in offices or studios.
6. Layer Your Lighting
- Combine Ambient and Task Lighting: General lighting provides overall illumination, while task lighting focuses on specific areas.
- Accent Lighting: Highlights artwork or architectural features, adding depth and interest to the room.
7. Ensure Even Distribution
- Multiple Light Sources: In larger areas, use multiple fixtures to avoid dark spots.
- Spacing: For fixtures like recessed lights, a general rule is to divide the ceiling height by two to determine spacing (e.g., for an 8-foot ceiling, place lights approximately 4 feet apart).
8. Customize for Specific Rooms
- Home Office:
- Desk Lamp Placement: Position on the side opposite your dominant hand.
- Monitor Lighting: Use bias lighting behind screens to reduce eye fatigue.
- Kitchen:
- Under-Cabinet Lighting: Illuminates work surfaces and reduces shadows cast by overhead lights.
- Pendant Lights: Hang over islands or counters at a height of 30-36 inches above the surface.
- Bedroom:
- Bedside Lamps: Should be tall enough so that the bottom of the shade is at chin level when sitting up in bed.
- Wall Sconces: Mount on either side of the bed at eye level for balanced illumination.
- Bathroom:
- Vanity Lighting: Install lights on either side of the mirror at eye level to eliminate facial shadows.
- Overhead Lights: Supplement with ceiling fixtures for overall brightness.
9. Pay Attention to Scale and Proportion
- Fixture Size: Should be appropriate for the space. Oversized lamps can overwhelm a small desk, while tiny fixtures may not provide sufficient light in larger areas.
- Aesthetics: Choose designs that complement the room’s décor and scale.
10. Safety Considerations
- Electrical Codes: Ensure all installations comply with local electrical codes.
- Moisture-Rated Fixtures: In bathrooms or kitchens, use fixtures rated for damp or wet locations.
- Secure Installation: Properly mount all fixtures to prevent accidents.
11. Experiment with Placement
- Test Different Positions: Before permanently installing fixtures, try different locations to see where the light works best.
- Use Temporary Solutions: Clip-on lamps or movable fixtures can help determine optimal placement.
12. Maintain Your Lighting
- Regular Cleaning: Dust and dirt can diminish light output.
- Replace Bulbs Promptly: Dimming bulbs can strain your eyes and reduce efficiency.
- Check for Wear: Inspect cords and switches for signs of wear and replace if necessary.
Conclusion
Optimal task light placement enhances both the functionality and comfort of your living spaces. By carefully considering the purpose, positioning, and type of lighting, you can create an environment that not only meets your practical needs but also adds to the aesthetic appeal of your home. Remember to layer your lighting, customize for each room, and prioritize both safety and style for the best results.
